
Drywall damage ranges from dents and cracks to loose seams and water-weakened areas. Each type requires a suitable repair method, and the wall’s condition helps determine the appropriate approach. If repairs don’t address the damage properly, visible flaws will remain, or the problem may return. Here are a few mistakes to avoid in drywall repair:
Ignoring Moisture Behind Drywall
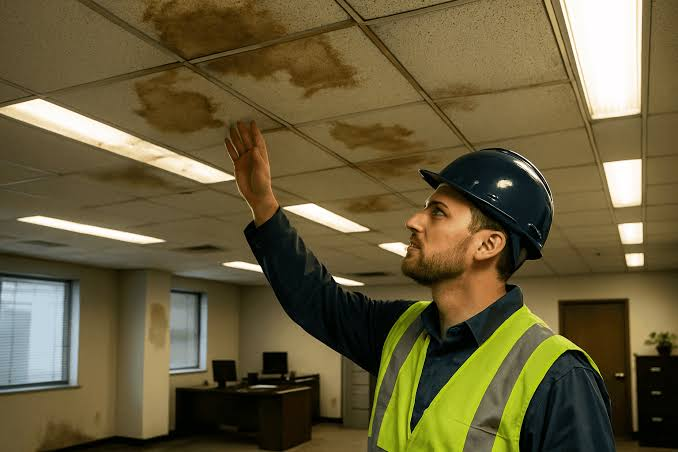
Water stains, soft spots, and deteriorating drywall require careful attention before you begin patching. A surface mark often does not show how far moisture has affected the panel. Small areas of damage sometimes suit localized repairs, but weakened or crumbling drywall requires removal and replacement. Applying joint compound over damaged material conceals the defect temporarily without restoring the board’s condition.
Humidity also affects drywall, while seasonal changes cause expansion and contraction that contribute to surface defects. Cracks and nail pops do not necessarily indicate water damage; their underlying causes depend on surrounding conditions. Distinguishing moisture-related deterioration from normal movement helps determine the appropriate drywall repair method. Ceilings with water stains require an assessment of the affected drywall’s condition before refinishing begins.
See also: How to Use a Rowing Machine Safely: A Beginner’s Guide
Applying Excessive Joint Compound
Joint compound fills holes, conceals damaged seams, and smooths repaired drywall surfaces. The quality of the finish depends on how evenly the compound is applied and blended into the surrounding wall. Applying too much compound at once often creates raised areas that remain visible after painting.
Thin, even coats provide better control and produce a smoother finish. Deeper holes and larger damaged areas typically require multiple coats to build up the surface gradually. Each coat must dry thoroughly before additional compound is applied or sanding begins.
Compound extending beyond the damaged area should taper gradually into the existing wall to prevent visible edges. Thick applications take longer to dry and often leave ridges that require extra sanding. Uneven patches frequently stand out under angled lighting, even after the wall receives a fresh coat of paint. Sanding removes high spots and smooths transitions, but excessive pressure can damage the drywall’s paper facing. Once the compound has dried and the surface is smooth, primer seals the repair and prepares it for paint.
Skipping Surface Preparation
Dust, grease, and loose paint compromise adhesion and contribute to uneven coverage, especially around repaired areas and previously painted sections. Before recoating, remove peeling paint and prepare the exposed surface to prevent the new finish from lifting. Stains require appropriate treatment because certain discolorations, including water marks and smoke residue, often bleed through standard paint. Primer helps seal these stains and create a consistent foundation for the topcoat. Surface imperfections should also be addressed before painting; a fresh coat often highlights uneven textures rather than concealing them. Proper surface preparation produces a more uniform finish and reduces the likelihood of premature peeling or visible discoloration.
Schedule Drywall Repair Services
Professional drywall repair addresses damaged panels, cracked seams, nail pops, and uneven patches. Experienced handymen repair damaged areas and replace deteriorated drywall, then prepare the surfaces for painting. Once repairs are complete, technicians apply the finishing materials to help patched areas blend with the surrounding wall. Contact a handyman service today to schedule a drywall assessment.